
Archaeological site travel tips matter most when you want the wow factor without accidentally breaking rules, missing the best areas, or putting yourself at risk in harsh conditions. These places aren’t like regular attractions, they’re often fragile, remote, and managed with strict conservation policies.
A lot of visitor frustration comes from small, preventable things: arriving at the wrong time, wearing the wrong shoes, not understanding what “do not touch” really means, or underestimating heat and distance. And once you’re on-site, there usually isn’t an easy reset button.
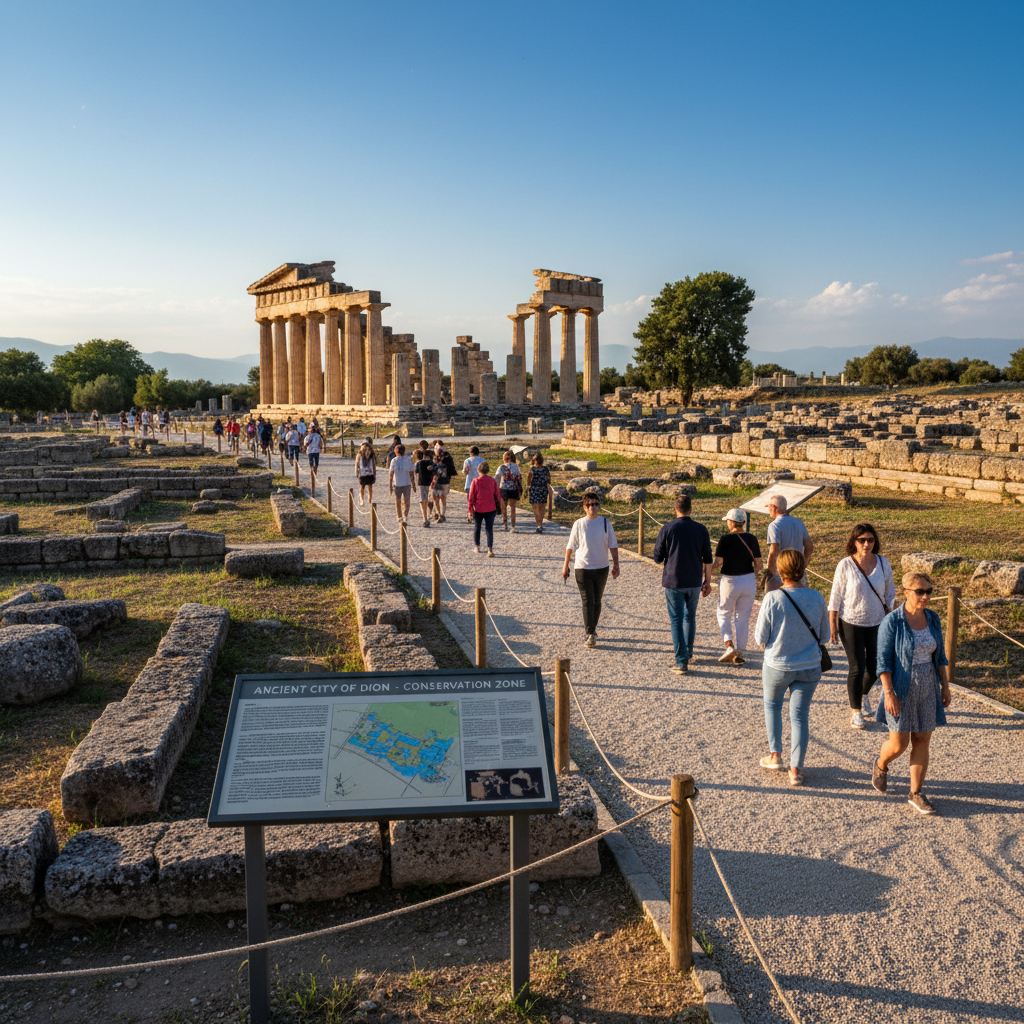
This guide keeps it practical, what to plan before you go, how to behave on the ground, and how to leave with better photos and fewer regrets. I’ll also call out common misconceptions, because “it’s just old rocks” is exactly how damage happens.
Know what kind of site you’re visiting (it changes everything)
Not all archaeological sites operate the same way, and most planning mistakes start with assuming they do. A fenced, ticketed park with paved loops feels easy, a remote desert ruin with no shade and limited staff is a different deal.
- Highly managed sites: timed entry, one-way routes, strict “stay on path” rules, more rangers and signage.
- Open-access ruins: fewer barriers, but also fewer warnings, higher personal responsibility.
- Sacred or living-heritage places: extra etiquette around photography, noise, dress, and access.
- Fragile or actively excavated areas: closures can change week to week, sometimes day to day.
According to UNESCO, tourism pressure is one factor that can threaten World Heritage properties, which is why many managers rely on controlled access and visitor rules. In plain language, if you see restrictions, it’s usually not “overly strict,” it’s the site trying to survive its own popularity.
Pre-trip planning that actually saves your day
Good planning for ruins looks boring on paper, then feels genius when you’re there. The goal is fewer surprises, not a packed schedule.
Check the site’s current rules and access notes
- Look for seasonal hours, timed tickets, and last-entry cutoffs.
- Confirm whether you need cash, ID, or a reservation confirmation.
- Scan for temporary closures tied to conservation work or weather.
Build a realistic time budget
- Add extra time for shuttles, security lines, and walking distance.
- Assume you’ll stop more than you think for reading plaques and photos.
- If you’re doing multiple sites, plan your “must-see” first, fatigue is real.
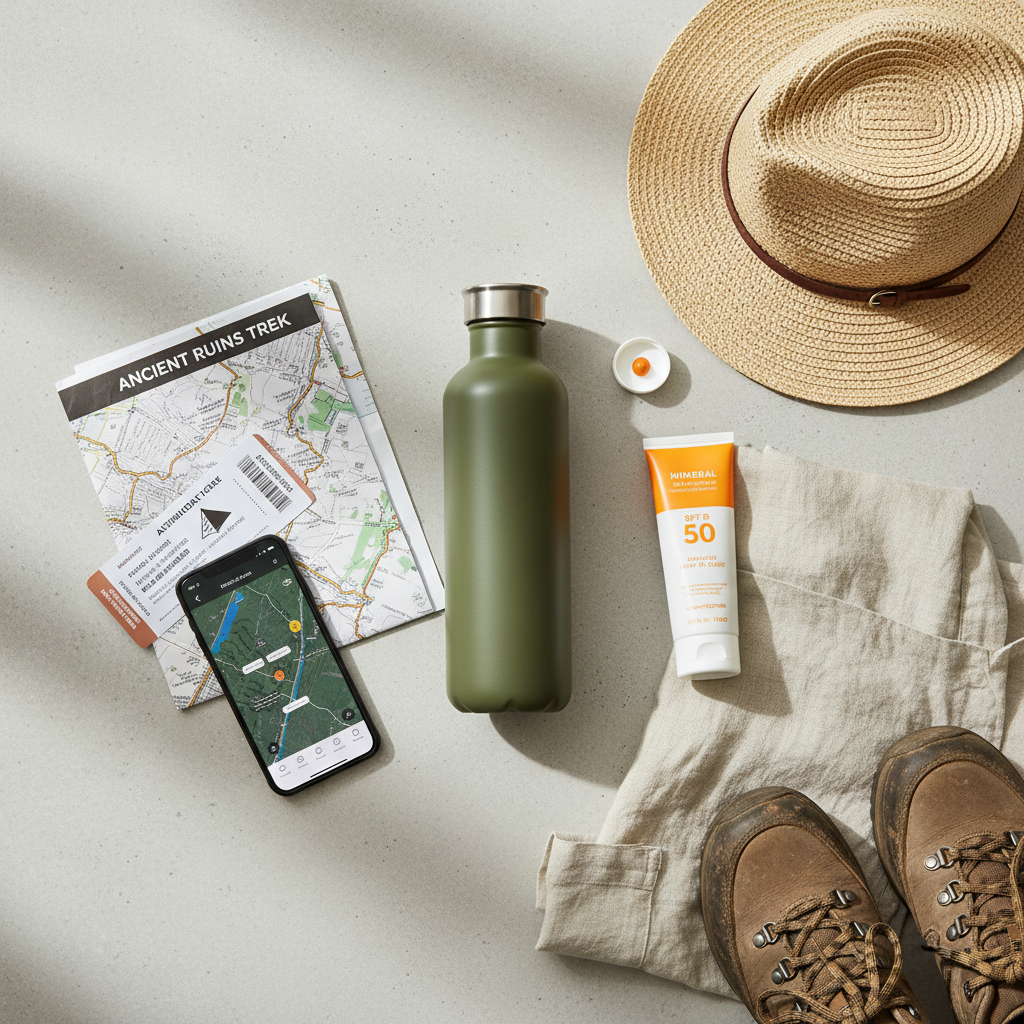
Pack for exposure, not style
Many sites have minimal shade, uneven ground, and limited services. Comfort and safety beat aesthetics, especially in heat, high elevation, or coastal wind.
- Footwear: closed-toe shoes with grip, sandals often turn into a bad idea.
- Sun and heat: hat, sunscreen, sunglasses, and more water than you expect.
- Navigation: offline maps if cell service looks spotty.
- Small bills: tips for local guides, shuttles, or small kiosks, where applicable.
Fast self-check: are you prepared enough?
If you can’t answer “yes” to most of these, adjust before you go. It’s a quick gut-check, not a purity test.
- I know the opening hours and last entry time for the date I’m visiting.
- I can walk 2–5 miles over uneven ground without counting on benches.
- I have a plan for heat, cold, rain, or wind typical for this region.
- I understand the rules on drones, tripods, and flash at this site.
- I’m carrying water and snacks, since on-site vendors may be limited or closed.
- I know whether a guide is required, recommended, or optional.
On-site behavior: protect the place and still have a great visit
Most “rules” boil down to one idea: avoid contact and avoid shortcuts. Stone, plaster, pigments, and soil layers can look tough, but they can be surprisingly easy to damage.
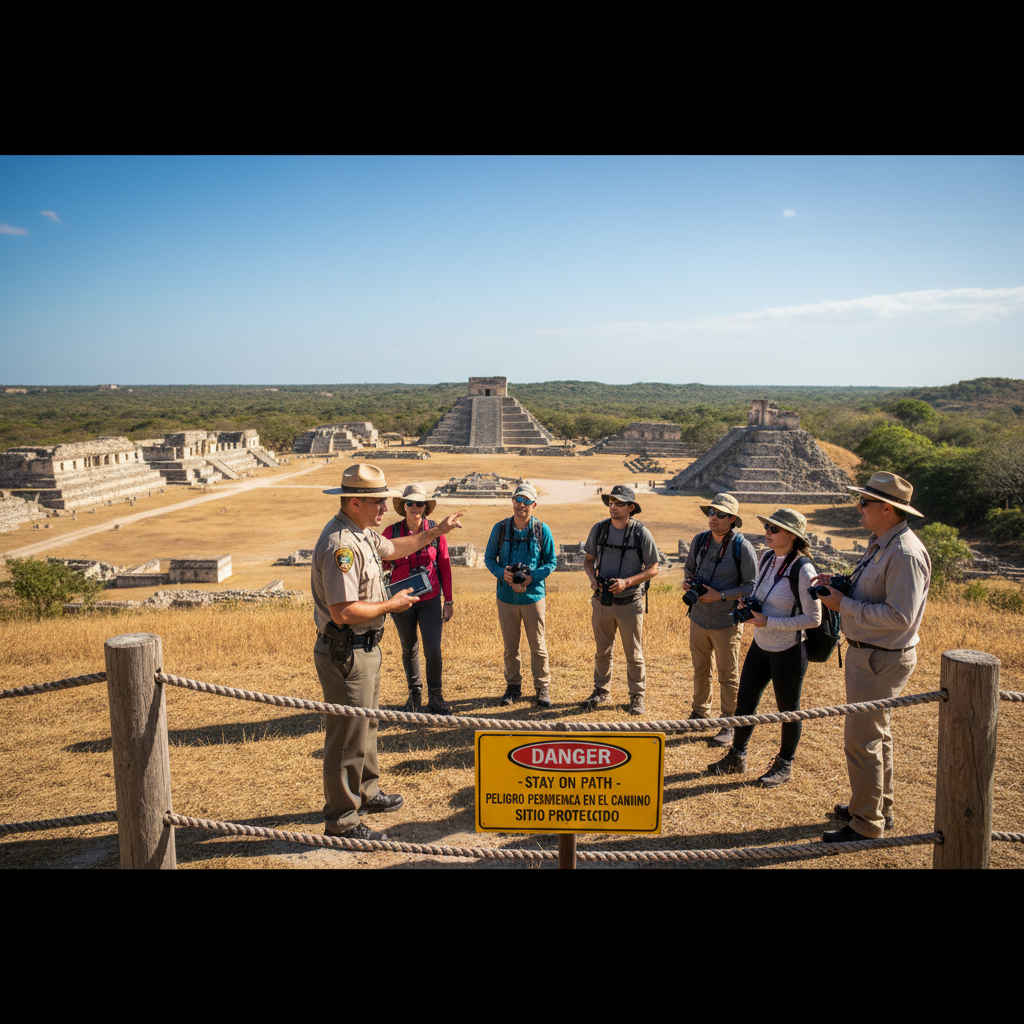
- Stay on marked routes, shortcuts erode edges and crush hidden features.
- Don’t touch surfaces, oils from hands can degrade carvings and paint over time.
- Leave artifacts where they are, even small fragments can hold context.
- Keep volume down in tombs, caves, and enclosed chambers.
- Follow photo rules, flash restrictions often exist to protect pigments.
According to the U.S. National Park Service, it is illegal to excavate, remove, damage, or otherwise alter archaeological resources on federal land, and penalties can be serious. Even if you’re abroad, similar protections often apply through local heritage laws.
Practical safety and comfort (the part people underestimate)
Safety at archaeological sites is usually about environment and footing, not dramatic danger. But heat illness, slips, and dehydration are common trip-enders, and they’re preventable.
Heat, altitude, and hydration
- Start earlier when possible, midday sun turns ruins into a furnace.
- Drink steadily, not just when you feel thirsty.
- If you have heart, respiratory, or heat-related health concerns, it’s wise to consult a clinician before high-heat or high-altitude visits.
Footing and boundaries
- Assume stones can be slick, especially after rain or in coastal mist.
- Respect rope barriers even when they look “optional.”
- Watch for wildlife warnings, in some regions snakes, insects, or aggressive monkeys are a real factor.
Photography and gear: good shots without being “that person”
You can get memorable images while staying respectful. Most conflicts happen when visitors block narrow paths, climb for angles, or ignore no-tripod areas.
- Use a small camera bag, bulky packs bump walls in tight corridors.
- Avoid climbing for perspective, use zoom, wide-angle, or lower viewpoints.
- Ask before photographing people, especially in living heritage settings.
- Skip flash where restricted, and if lighting is low, stabilize with your body or a permitted support.
If you’re unsure about drones, assume “no” until you confirm. Many sites restrict drones due to safety, noise, and conservation concerns.
A simple planning table you can copy
If you like checklists, this table turns common decisions into quick choices. It’s not perfect for every destination, but it works for many trips.
| Situation | What to do | Why it helps |
|---|---|---|
| Limited shade, high heat | Arrive early, carry extra water, wear light long sleeves | Reduces heat stress and fatigue |
| Timed entry or tight schedule | Prioritize 1–2 key zones, don’t over-plan photos | Keeps your visit calm and realistic |
| Fragile interiors (tombs/caves) | Follow no-flash rules, keep distance from walls | Protects pigments and surfaces |
| Remote site, weak cell service | Download offline maps, share your plan, bring snacks | Avoids navigation and timing issues |
| Visiting with kids | Set “hands off” expectations, choose shorter loops | Prevents damage and meltdowns |
Common mistakes that quietly ruin the experience
- Assuming services exist: restrooms, water fountains, and shade can be limited.
- Trying to “see it all”: you end up rushing the most meaningful areas.
- Buying souvenirs from questionable sources: avoid anything that looks like an artifact.
- Over-trusting social media tips: “secret entrances” and illegal viewpoints can lead to fines or injury.
One more thing people miss, interpretation matters. A small guided segment, even 30–60 minutes, can turn a pile of stones into a coherent story.
When to consider a guide or expert help
Many travelers prefer independence, and that’s fine. Still, there are situations where paying for expertise improves both safety and understanding.
- You’re visiting a complex site where signage is minimal or confusing.
- You want context on architecture, chronology, or excavation methods beyond the basics.
- You have mobility concerns and need the most accessible route.
- You’re traveling during extreme weather seasons and want local judgment on timing.
For U.S. sites, rangers or official concession guides are often a reliable starting point. Abroad, look for licensed guides where that system exists, and don’t be shy about asking what their tour covers.
Key takeaways
- Plan for conditions (sun, distance, uneven ground) more than you plan for “attractions.”
- Stay on paths and don’t touch, conservation rules are there for a reason.
- Time matters, early entry often means better light, cooler temps, and fewer crowds.
- Use a guide strategically, especially when context is limited on-site.
Conclusion
Good archaeological site travel tips aren’t about being overly cautious, they’re about visiting with enough respect and preparation that you can focus on the history instead of logistics. Pick one site behavior to commit to, like staying strictly on marked routes, and one planning habit, like checking rules the night before, and your next visit usually feels smoother.
If you’re planning a trip soon, choose your top site, look up the current access rules, then build your packing list around exposure and walking time. That small effort tends to pay back fast once you’re standing in the ruins.
FAQ
What should I wear when visiting an archaeological site?
Closed-toe shoes with grip and breathable layers usually work best. Many sites have sharp rocks, sand, or uneven steps, and sun exposure can be intense even when temperatures feel mild.
Are archaeological sites safe for kids?
Often yes, but it depends on barriers, drop-offs, and heat. Shorter loops, frequent water breaks, and a clear “look, don’t touch” rule help a lot, especially in tight interior spaces.
Can I pick up small pottery shards or stones as souvenirs?
It’s a bad idea and in many places illegal. Even tiny fragments can have archaeological context, and removing them adds up when thousands of visitors do the same.
Do I need a guided tour to enjoy a ruin?
Not always. If signage is strong and routes are clear, self-guided visits can be great, but for complex sites a guide can add context you won’t get from plaques alone.
What time of day is best for visiting ruins?
Early morning is often the sweet spot for cooler temperatures and softer light. Late afternoon can also work, but check last-entry rules so you don’t get rushed out.
Are drones allowed at archaeological sites?
Many sites restrict or prohibit drones for safety, noise, and conservation reasons. Check the official site rules in advance, and when you can’t confirm, assume you shouldn’t fly.
How can I be respectful at sacred or living heritage sites?
Follow posted guidance on dress, photography, and quiet zones, and watch what locals do. If you’re uncertain, asking staff or your guide is usually appreciated more than guessing.
If you’re planning a trip and want a more tailored set of archaeological site travel tips based on your destination, season, and mobility needs, it can help to map your route and constraints first, then refine your packing list and timing around the site’s actual rules rather than generic travel advice.