
Gorge travel hiking guide planning gets tricky fast: weather changes in a narrow canyon, trail access shifts, and a “quick viewpoint” can turn into a high-exposure scramble if you pick the wrong route.
If you want stunning views without the stress, the goal is simple, pick a gorge that matches your fitness and comfort with heights, plan for water and turnaround time, then hike with a conservative safety margin.
This guide focuses on real-world choices hikers make, what to check before you drive out, how to read gorge-specific risks, and a few practical route patterns you can use almost anywhere in the U.S.
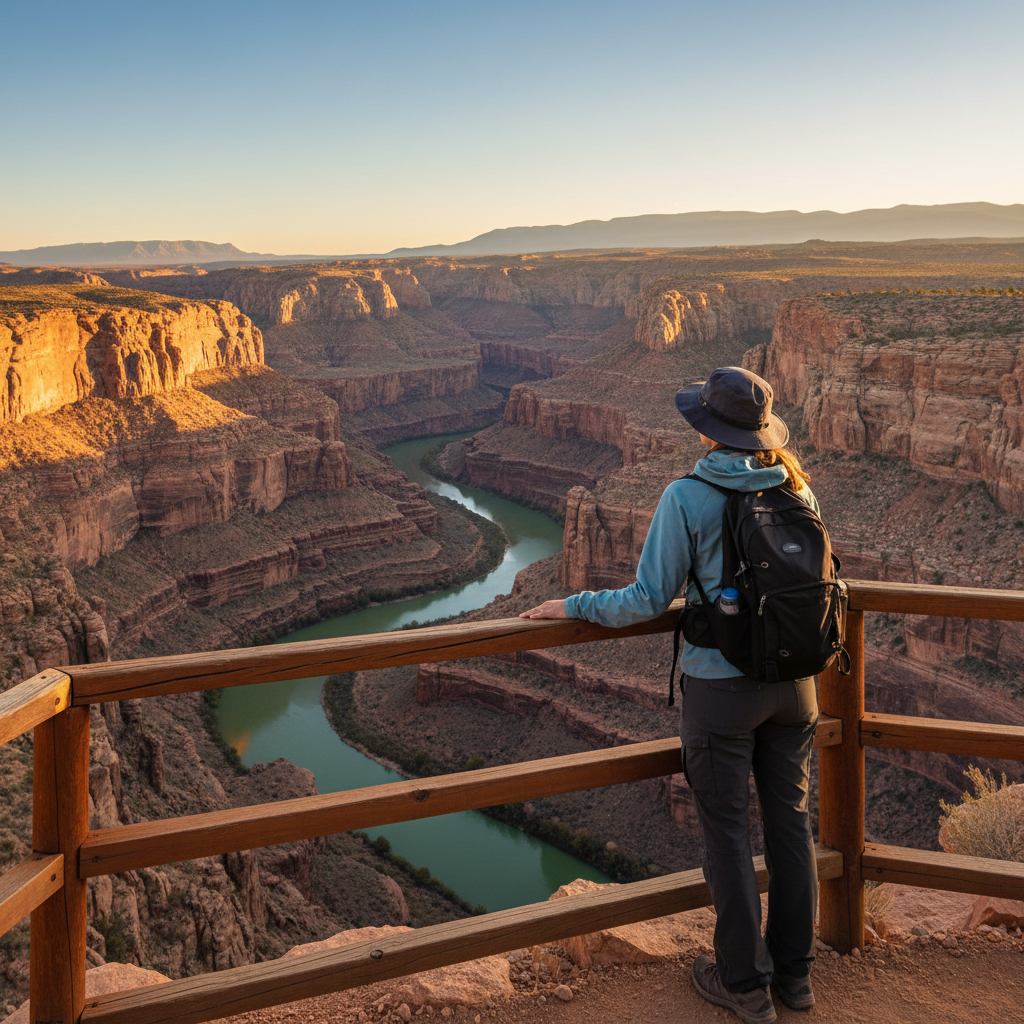
Why gorge hikes feel different (and why that matters)
Gorges compress everything, scenery, sound, wind, and sometimes risk. What looks mild on a map can feel committing once you drop below rim level.
- Microclimates: shade and cold air pooling can make the gorge floor cooler and wetter than the rim, while sun-baked switchbacks above stay hot.
- Flash-flood dynamics: many gorges funnel runoff, so storms miles away can still affect your route, especially near streambeds.
- Loose rock and wet surfaces: polished stone, algae, and grit on ledges cause a lot of “I didn’t see that coming” slips.
- Navigation friction: steep walls can reduce GPS reliability, and spur paths to viewpoints sometimes skip signage.
According to National Park Service safety guidance, staying back from cliff edges and keeping situational awareness around water and steep terrain reduces common fall and drowning hazards.
Quick self-check: which type of gorge hike fits you?
Before you pick a trail, decide what you actually want: rim panoramas, waterfall corridors, or a mix. Then match it to your comfort with exposure, footing, and crowds.
A simple decision checklist
- If heights make you tense: prioritize wide rim paths, fenced overlooks, and out-and-back routes with obvious turnaround points.
- If you want the “inside the canyon” feel: look for maintained gorge-floor trails along rivers or waterfalls with bridges and railings.
- If you hike with kids: choose trails with consistent tread, minimal drop-offs, and frequent “reward views” so breaks feel earned.
- If you hate crowds: go early, target shoulder seasons, and consider lesser-known state parks or national forests near famous gorges.
- If you’re training: pick loop routes with climb on the way out, but keep bailout options in mind.
A gorge travel hiking guide is most useful when it steers you away from “aspirational” routes that don’t match your day, your group, or conditions.
How to pick a gorge for stunning views (without guessing)
Most people choose based on photos. That’s normal, but you’ll get better results by filtering with a few practical criteria.
Use these filters when comparing options
- View-to-effort ratio: do you get a major overlook within the first 1–3 miles, or is it all payoff at the end?
- Trail engineering: maintained stone steps and railings usually mean predictable footing, while “primitive” routes can be gorgeous but slower.
- Seasonality: waterfalls often peak in spring, while fall brings color but shorter daylight and slick leaves.
- Access reliability: check for road closures, permit systems, and shuttle requirements, then pick a backup trail nearby.
According to USDA Forest Service recreation guidance, checking local conditions and closures before travel helps prevent avoidable rescues and resource damage, which is especially relevant in narrow canyon corridors.
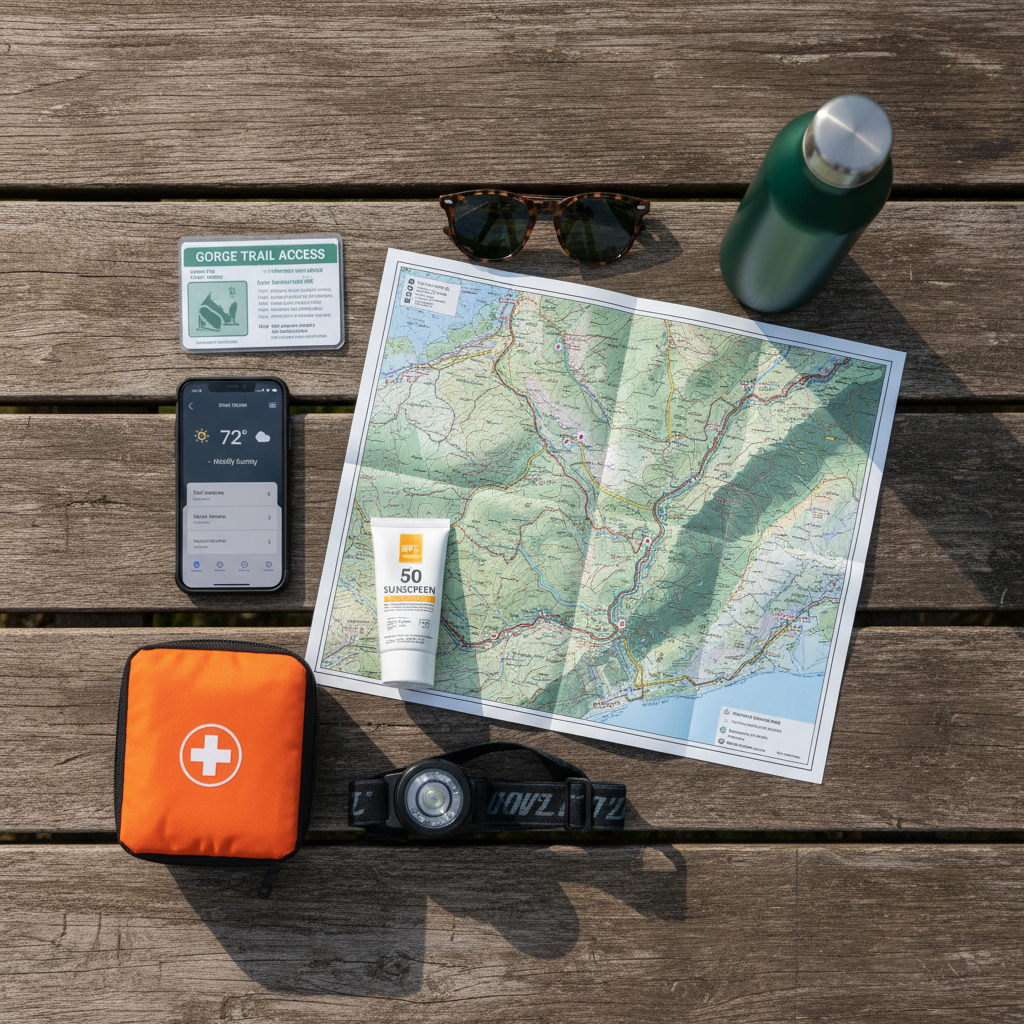
Planning essentials: weather, timing, permits, and turnarounds
This is where many gorge days go sideways, not because hikers are careless, but because they underestimate how slow steep terrain feels on the return.
Pre-hike checks that actually save the day
- Weather in two places: check the nearest town and the ridge-line forecast, and watch for thunderstorm probabilities upstream.
- Time budget: plan your turnaround time first, then fit mileage into it, not the other way around.
- Permits and parking: many popular gorges cap parking early; if you arrive late, your hike may start with a long road walk.
- Trail condition notes: look for recent trip reports mentioning washed-out bridges, downed trees, or rockfall detours.
Key takeaway: in gorge terrain, being “almost there” can be the most dangerous moment, because fatigue and time pressure stack up right beside exposure.
Gear and safety basics for gorge terrain
You don’t need exotic gear, but a few items make a big difference when the path turns wet, narrow, or unexpectedly long.
Core kit (and why it matters)
- Traction-first footwear: prioritize outsole grip over lightweight feel; wet stone punishes smooth tread.
- Headlamp: even on day hikes, shaded gorges get dim early, and a delay happens more often than people admit.
- Layers for damp shade: a light insulating layer can matter more than an extra T-shirt, especially near waterfalls.
- Water and electrolytes: you may sweat on the climb while feeling cool in the canyon; dehydration still creeps in.
- Simple first aid + blister care: gorge hikes can be rocky and repetitive, which is prime blister territory.
Situational habits worth keeping
- Keep a wider buffer near edges than you think you need, loose gravel can slide underfoot.
- Avoid shortcut “social trails” to viewpoints, they often run on unstable slopes.
- If water is high or fast, crossing may be unsafe even if the distance looks short; consider turning back and choosing another trail.
If you have medical conditions, balance issues, or a history of heat illness, it may help to consult a clinician about hiking limits, especially for steep or humid gorge routes.
On-trail strategy: how to get the views and keep the margin
A good gorge travel hiking guide should tell you how to move through the day, not just where to go.
Simple tactics that work across most gorges
- Start with an “easy win” viewpoint: you get a payoff early, and you can reassess energy without sunk-cost pressure.
- Use the 3-point footing rule: on slick steps or rock, keep three points of contact stable before shifting weight.
- Take breaks on purpose: stop at wide spots, not at narrow ledges where people bunch up and rush past.
- Photograph safely: step back, zoom in, and avoid backing up while framing a shot near drop-offs.
According to Centers for Disease Control and Prevention (CDC) guidance on outdoor heat and hydration, planning for fluids and pacing helps reduce heat stress risk; even shaded canyons can involve intense uphill effort on the exit.
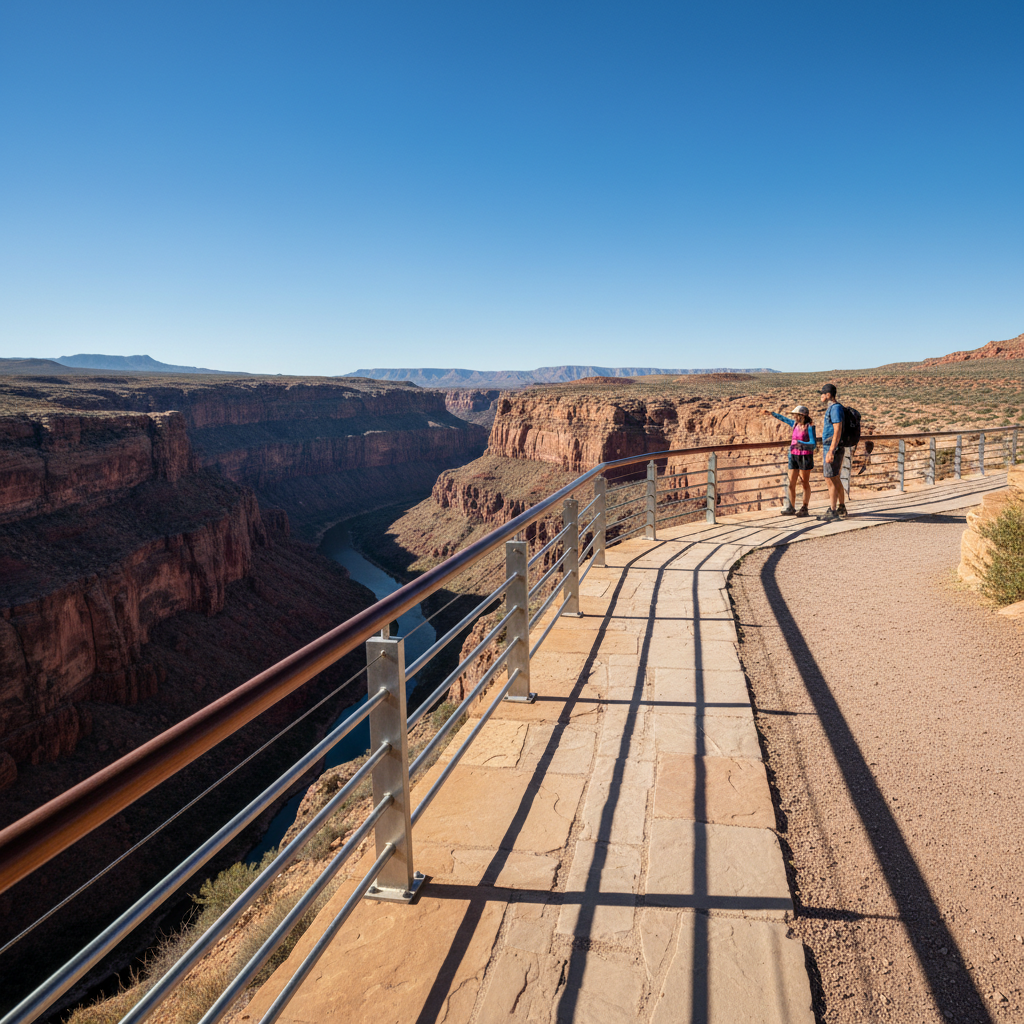
Practical route patterns (with a comparison table)
You can adapt these patterns to many destinations, from state parks to national recreation areas. Pick one based on the experience you want and the time you have.
| Route pattern | Best for | Typical tradeoffs | Planning note |
|---|---|---|---|
| Rim out-and-back | Big panoramas, low navigation stress | Wind exposure, fewer water features | Check for icy rims in colder months |
| Waterfall corridor | Constant scenery, family-friendly in many parks | Wet steps, crowds near highlights | Start early to avoid bottlenecks |
| Rim-to-river loop | “Full gorge” experience, varied views | Harder climb out, time can slip | Set a firm turnaround time |
| Shuttle or point-to-point | Long scenic corridors without backtracking | Logistics, limited bailout options | Confirm shuttle schedule and cell coverage |
Key point: if you’re visiting a famous gorge on a tight schedule, a rim out-and-back often delivers the best view-per-minute, then you can add a short waterfall segment if time and footing look good.
Mistakes that ruin a gorge day (and what to do instead)
These show up in trip reports over and over, usually from people who are otherwise competent hikers.
- Chasing “just one more overlook” late: decide your turnaround before you feel tired, and stick to it even if the next bend looks promising.
- Assuming the return is easier: in many gorges, the exit climb is the workout, keep water for the last third.
- Underestimating wet rock: slow down on polished stone near waterfalls, and don’t be shy about using railings where provided.
- Wearing fashion layers: cotton hoodies feel fine at the car, then stay cold and heavy in damp shade.
- Skipping a backup plan: have one nearby alternative trail in case parking fills or a section closes.
If you’re unsure about a specific gorge’s hazards, especially flash-flood risk or technical scrambles, consider asking local rangers or a qualified guide service for route advice.
Conclusion: make the views the reward, not the risk
A gorge travel hiking guide works best when it helps you pick the right style of trail, plan conservative timing, and bring a small set of gear that covers wet footing and changing conditions.
For your next trip, choose one route pattern from the table, set a turnaround time before you leave the trailhead, and keep your “photo moments” on stable ground, you’ll usually come home with better pictures and a calmer day.
FAQ
What is the best season to follow a gorge travel hiking guide for waterfalls?
Spring often has stronger flows in many regions, but conditions vary by snowpack and rainfall. If trails are muddy or icy, a rim hike can be a safer swap while you still get big views.
How do I know if a gorge hike has dangerous exposure?
Look for trip reports mentioning narrow ledges, scrambling, or “no railings,” and check photos for how close the trail runs to drop-offs. If you dislike heights, pick maintained overlooks and wide tread paths.
Do I need trekking poles for gorge hiking?
Many hikers find poles helpful on wet stone steps and steep descents, but they’re optional. If you bring them, practice planting them on rock so they don’t slip on smooth surfaces.
How early should I arrive for popular gorge trails in the U.S.?
In peak season, arriving near sunrise often avoids full parking lots and crowded viewpoints. If you can’t go early, a lesser-known nearby trail in a national forest can feel dramatically quieter.
What should I do if rain starts while I’m inside the gorge?
Move away from streambeds and low spots, then reassess whether continuing keeps a safe margin. If you suspect upstream storms, turning back is usually the smarter call even if it feels inconvenient.
Are gorge hikes safe for kids?
Many are, especially paved or well-railed waterfall walks, but the margin matters. Choose routes with consistent tread, frequent pull-offs, and minimal edge exposure, and keep expectations flexible.
How much water should I carry for a rim-to-river loop?
It depends on temperature, humidity, and your pace, but these loops often feel harder on the climb out than the distance suggests. When in doubt, carry extra and treat it as cheap insurance.
If you’re planning a first-time gorge trip and want a simpler path, build your day around one iconic overlook, then add a short waterfall corridor as an optional extra, it’s an easy way to get stunning views without overcommitting.