
Travel clothesline portable gear is one of those small purchases you only appreciate when your sink is full of wet socks, the hotel balcony has nowhere to hang anything, and you still want clean clothes tomorrow.
If you travel with kids, move between hotels and Airbnbs, camp, cruise, or do any kind of long trip, a compact line can reduce how many outfits you pack and how often you pay for laundry. It’s not glamorous, it’s just practical.
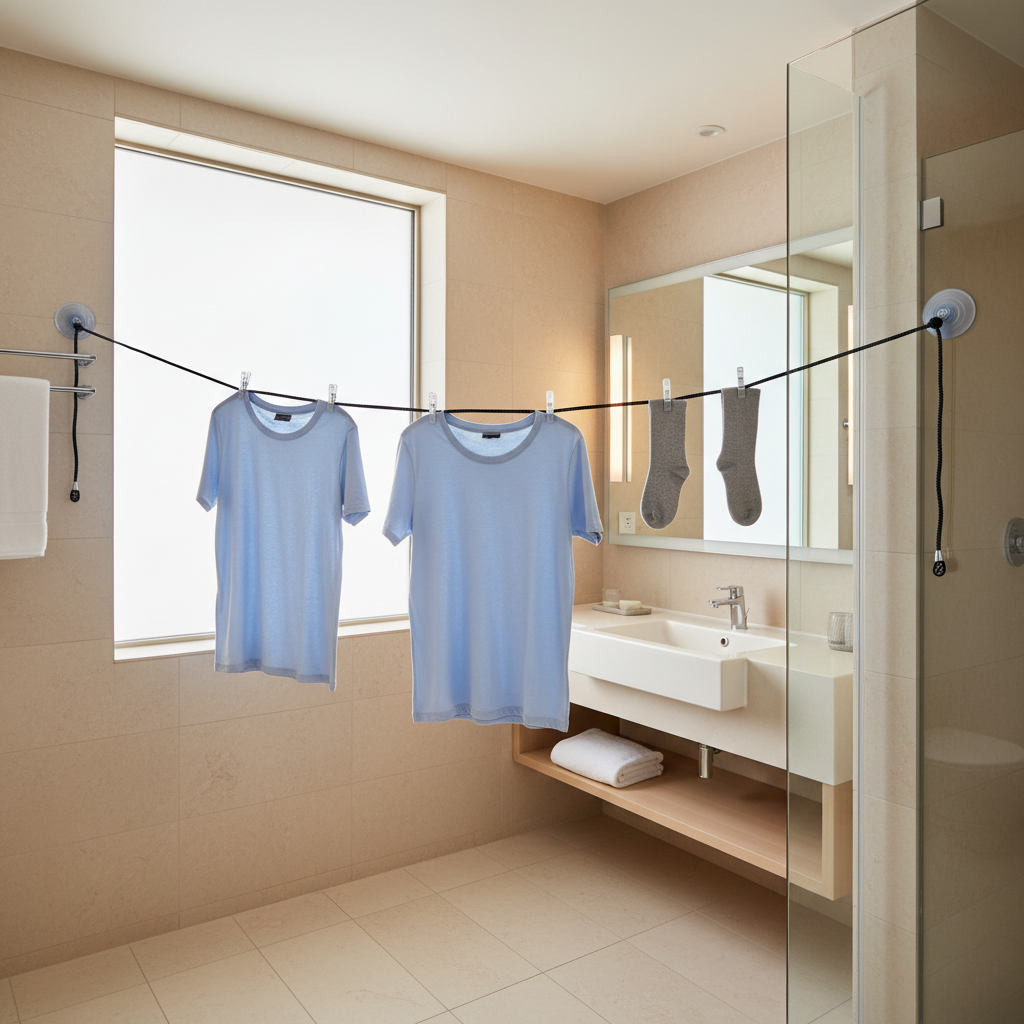
Where people get stuck is buying the wrong style, or bringing the right one but setting it up in a way that slows drying or annoys hosts. Below is a realistic way to choose, pack, and use a line without overthinking it.
Why a portable clothesline solves more than “where to hang stuff”
The obvious benefit is drying, but the real win is control. You decide when laundry happens, even in places with limited facilities.
- Less overpacking: quick washes of underwear, base layers, workout gear mean fewer duplicates.
- Fewer emergency purchases: you’re less likely to buy overpriced socks or a “vacation T-shirt” just to get by.
- Better for technical fabrics: many performance items don’t love high heat, air-drying keeps them in better shape.
- Works in awkward spaces: bathrooms, balconies, between chairs, RV awnings, hostel bunks.
According to CDC, handwashing can be an effective way to clean when done correctly, which is helpful context if you rely on sink laundry during travel. You still want to dry items fully to avoid odors and irritation.
Common types of travel clotheslines (and who they fit)
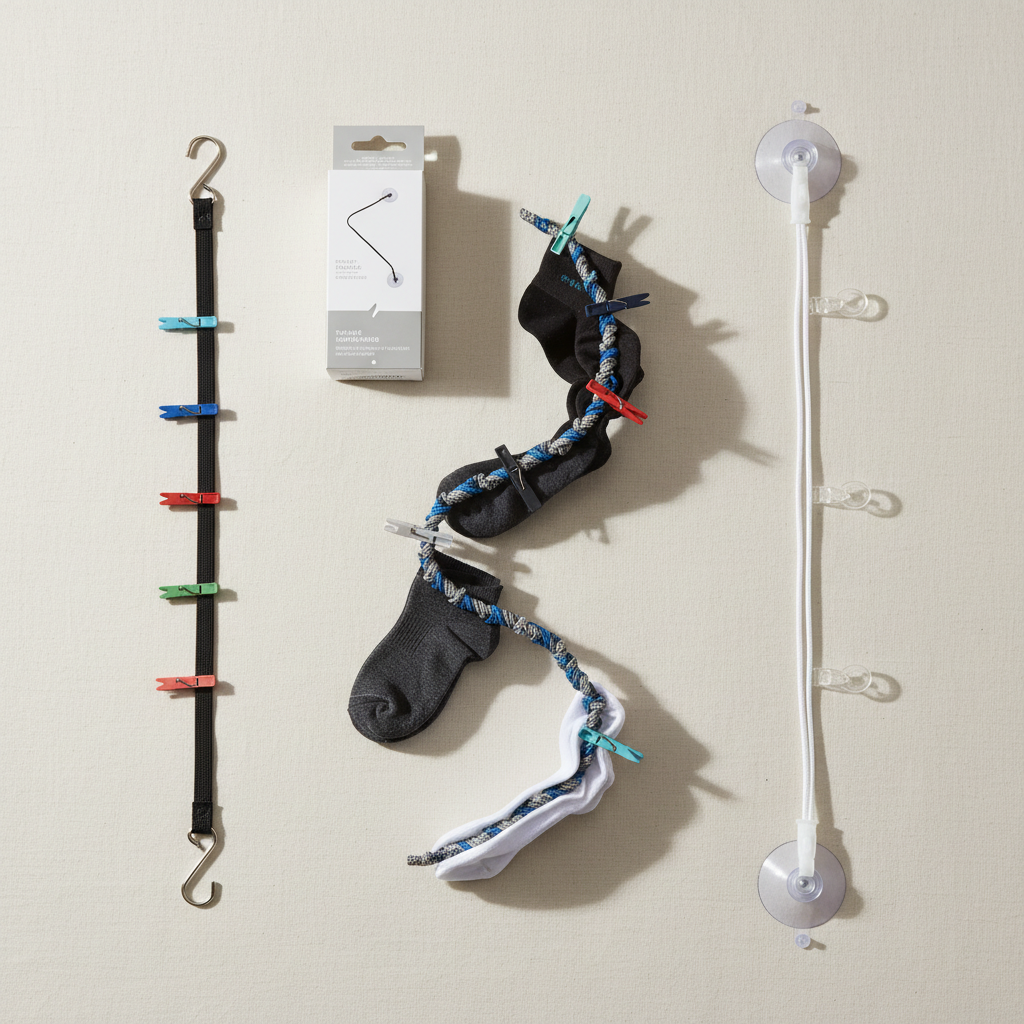
Not all “portable” lines feel portable once you actually use them. The main differences come down to how they attach and how they grip clothing.
Bungee-style line with hooks
- Best for: hotel bathrooms, balconies, cruise cabins with anchor points
- Why people like it: tension keeps items separated, less sliding
- Watch for: too much tension can pull weak towel bars or light fixtures
Twisted cord “no-pin” line
- Best for: quick indoor setups, minimal packing
- Why it works: you wedge fabric between the twists instead of using clothespins
- Watch for: heavy items can sag, slick fabrics may slip
Suction-cup clothesline
- Best for: smooth tile, glass, mirrors
- Why it’s appealing: no hooks needed, quick install
- Watch for: humidity, textured tile, dusty surfaces reduce grip
Mini line + clothespins (micro kit)
- Best for: campers, long trips, people drying mixed items
- Why it’s flexible: pins handle heavier garments and odd shapes
- Watch for: pins add bulk, and cheap ones snap in cold weather
Quick self-check: which setup will actually work for your trip?
Before you buy anything, answer these honestly. It saves you from the “this looked good online” moment.
- Where will you attach it? towel bars and shower rails vary a lot, and some hosts don’t want anything hung from fixtures.
- How many items at once? a couple of socks is different from a family’s swimwear lineup.
- Indoor or outdoor drying? outdoor dries faster, indoor needs airflow planning.
- Are you washing heavy items? jeans and hoodies usually don’t belong on tiny elastic lines.
- Do you want zero accessories? if you hate managing small parts, a no-pin style is simpler.
If you expect mixed fabrics and heavier items, a small pin kit plus a sturdier line tends to feel less frustrating than ultra-minimal options.
Buying guide: what to look for (without falling for gimmicks)
A travel clothesline portable setup is worth it when it’s fast to install, holds reliably, and packs small. Here are the features that matter more than marketing names.
- Length and tension range: look for adjustable length, not a fixed short cord that forces awkward angles.
- Attachment style: hooks work with rails and handles, suction cups need smooth surfaces, carabiners are versatile.
- Anti-slip design: beads, twists, or segmented sections prevent everything from sliding to the center.
- Material: elastic blends resist sagging, but very thin elastic can degrade faster in heat and sun.
- Packability: it should coil neatly without turning into a knot ball in your toiletry bag.
At-a-glance comparison table
| Type | Setup speed | Best surface/anchors | Holds heavy items | Typical “gotcha” |
|---|---|---|---|---|
| Bungee with hooks | Fast | Rails, handles, sturdy bars | Medium | Too much tension on weak fixtures |
| Twisted no-pin cord | Very fast | Any two anchors | Light | Slick fabrics can slip |
| Suction-cup line | Fast (when it sticks) | Glass, mirrors, smooth tile | Light | Humidity/dust reduces suction |
| Line + clothespins | Medium | Any two anchors | Medium to higher | More parts to manage |
How to set up and dry clothes faster (real-world steps)
Most “it didn’t dry” complaints come from water removal and airflow, not from the line itself. A few small habits change everything.
Step 1: Remove more water than you think
- Press, don’t wring aggressively, especially with knits and technical fabrics.
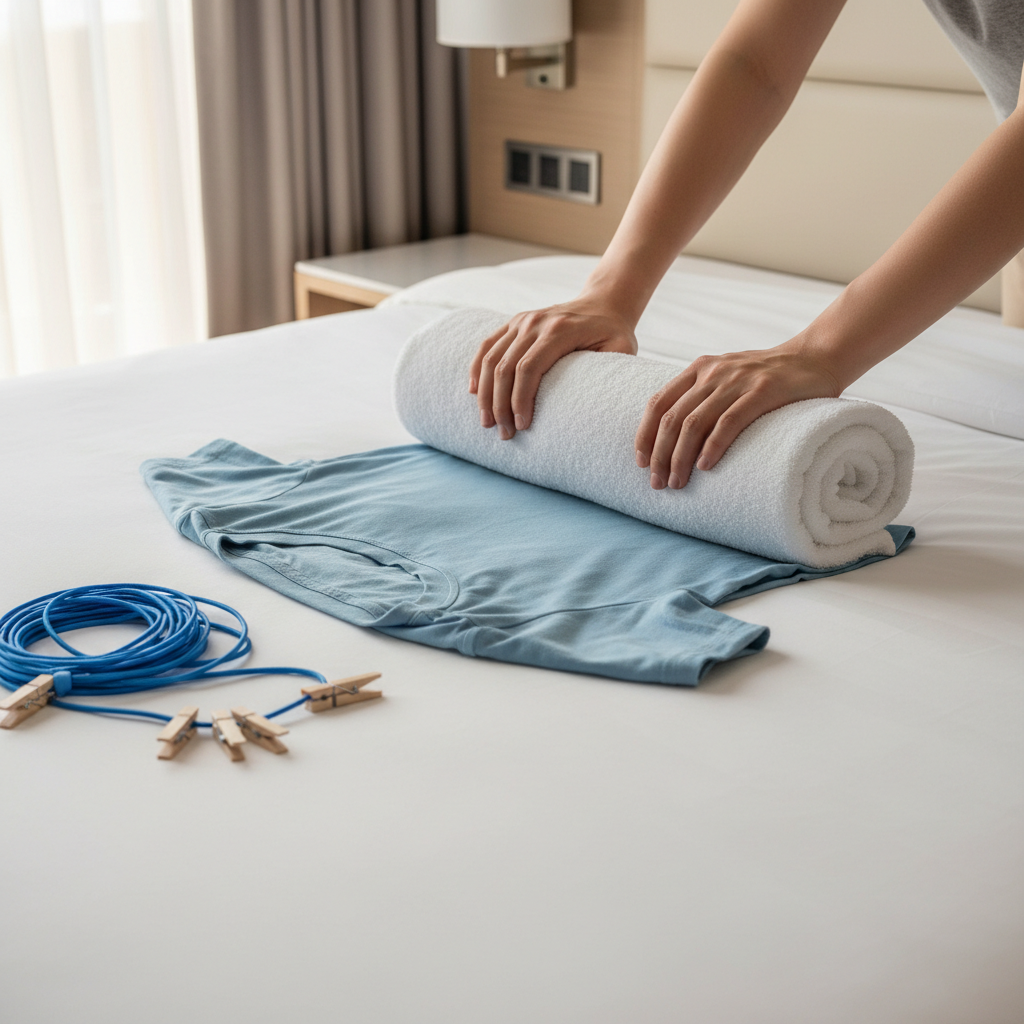
- Towel roll method: lay the item flat on a towel, roll tightly, then press with your hands or knees.
- If allowed, a short spin cycle in a washer beats any hand method, but that’s trip-dependent.
Step 2: Pick the right location
- Bathrooms dry slower unless there’s a vent fan and you run it.
- Near an open window is great, but avoid placing items where they can blow off or drip onto electronics.
- On balconies, be mindful of neighbors and any property rules.
Step 3: Hang with spacing (this is the make-or-break part)
- Leave gaps so air can move between items, even small gaps help.
- Turn thick waistbands and seams outward, those areas hold moisture longest.
- If you use pins, clip at seams to reduce marks and stretching.
Step 4: Add airflow, not heat
- A small fan or the bathroom vent often beats blasting heat.
- A/C dehumidifies in many hotels, which can speed drying in the room.
- If you must use a hair dryer, keep distance and low heat; some fabrics can warp or shrink.
Mistakes that waste time (and sometimes annoy hosts)
These are common, and they’re fixable, but they’re also the reason people conclude a portable line “doesn’t work.”
- Overloading the line: too many wet items sag into each other, drying stalls.
- Hanging from fragile fixtures: towel bars and shower curtain rods vary by property, if it feels loose, don’t risk it.
- Letting water drip: place a towel under drips to avoid floor damage and slip hazards.
- Skipping odor prevention: if an item still smells musty when damp, it usually needs a better rinse and faster drying.
- Assuming “one line fits all”: beach trips, business travel, and camping each benefit from different setups.
According to OSHA, slips, trips, and falls are a leading cause of workplace injuries; travel spaces aren’t workplaces, but the logic carries over—wet floors and dangling lines can create avoidable hazards, especially in small bathrooms.
Key takeaways (save this before your next trip)
- Pick anchors first, then choose the line type.
- Drying speed depends more on water removal + airflow than on cord material.
- For mixed laundry, a small pin kit often feels more dependable than “no accessories.”
- If your lodging has rules about balcony drying, indoor setups with ventilation are the safer choice.
Conclusion: the simplest way to make it work
A travel clothesline portable setup pays off when it matches your actual lodging and laundry habits, not an idealized travel scenario. Choose a line that attaches easily in most places you stay, practice one fast setup at home, and focus on removing water well before you hang anything.
If you want a low-effort next step, pack a compact line plus two or three small clips, then test it once in your bathroom. That single trial run usually prevents the frustrating “why is everything still wet” night on day three of a trip.