
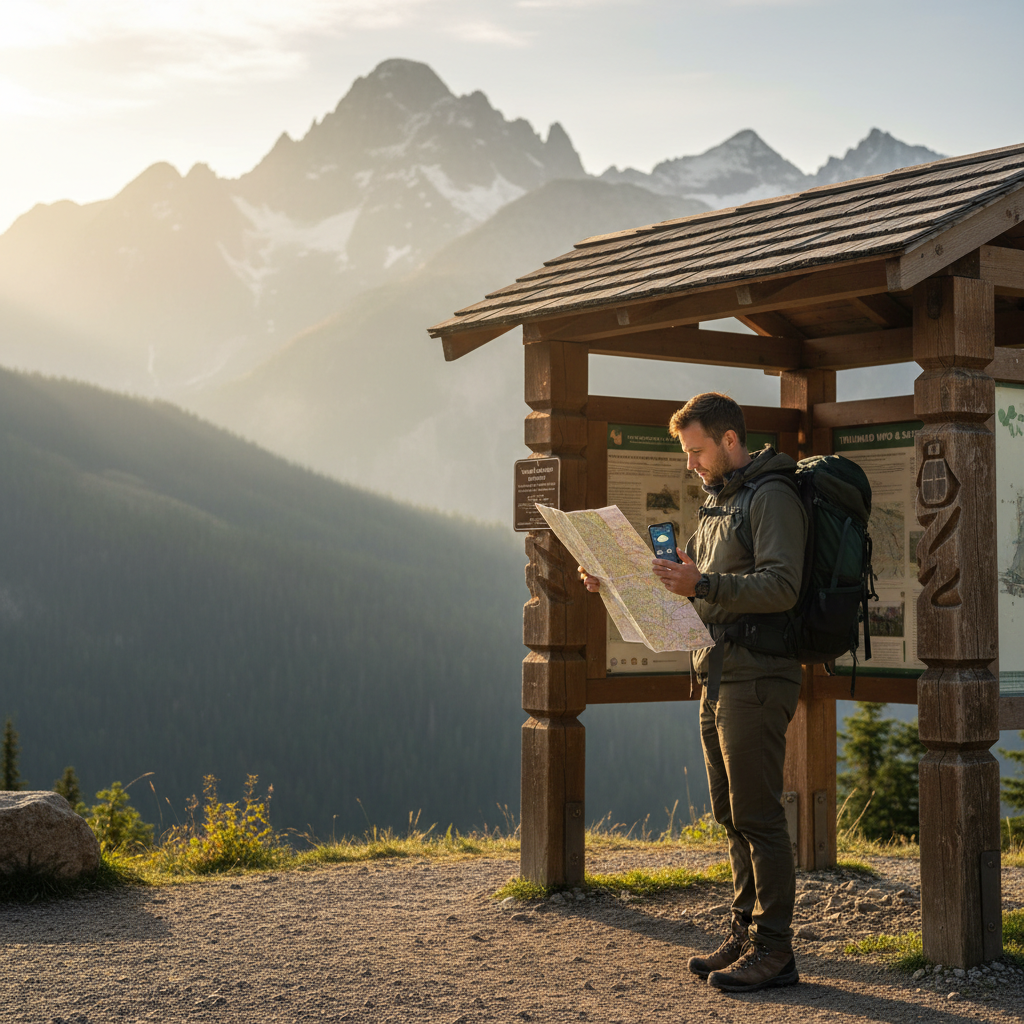
How to prepare for mountain travel comes down to three things you can control before you ever see a trailhead, your plan, your gear, and your decision-making when conditions change.
If you have ever arrived in the mountains and realized your layers are wrong, your water plan makes no sense, or the “easy” route feels harder than expected, you already know why preparation matters, small gaps turn into big problems faster at elevation.
This guide stays practical, not heroic, you will get a simple way to match your clothing and equipment to the trip, a risk check that feels realistic, and a few habits that keep your day flexible without turning it into overthinking.
Start with the trip profile: your “non-negotiables”
Most mountain trips go sideways for boring reasons, distance gets underestimated, weather shifts, or people bring a day-hike mindset to an all-day effort. Before shopping or packing, define the trip profile in plain language.
- Location and season: the same elevation feels different in Colorado in October versus the Appalachians in July.
- Route type: out-and-back, loop, point-to-point, off-trail travel, or a mix.
- Time plan: start time, turnaround time, and a realistic pace window.
- Exposure: treeline time, steep drop-offs, river crossings, snowfields.
- Support level: guided vs self-guided, cell coverage likelihood, nearby help.
Write these down somewhere you will see while packing, it keeps you honest when you feel tempted to pack for a different trip than the one you booked.
Key point: if you cannot describe your trip in five sentences, you are not “bad at planning,” you just need one more round of research.
Weather, altitude, and daylight: what actually changes in the mountains
Mountain conditions punish assumptions. A warm forecast in town can still mean cold wind on ridgelines, and storms can build quickly depending on region and time of day.
According to National Weather Service (NWS), mountain weather can change rapidly, and forecasts may not reflect conditions at higher elevations, treat weather checks as an ongoing habit, not a one-time task.
How to read conditions without getting overwhelmed
- Check multiple sources: a general forecast plus a location-specific mountain forecast if available.
- Look for wind and precipitation timing: not just temperature highs.
- Plan around daylight: start earlier than you think you need, especially outside summer.
- Expect a colder “feels like”: wind strips heat fast when you stop moving.
Altitude adds another layer, even fit people can feel slower, get headaches, or feel unusually wiped. According to the Centers for Disease Control and Prevention (CDC), altitude illness can occur in some travelers at elevations above roughly 8,000 feet, and risk increases with rapid ascent, if you have medical concerns, it can be worth asking a clinician before a high-elevation trip.
When people ask how to prepare for mountain travel, this is the quiet answer, plan for variability, not perfection.
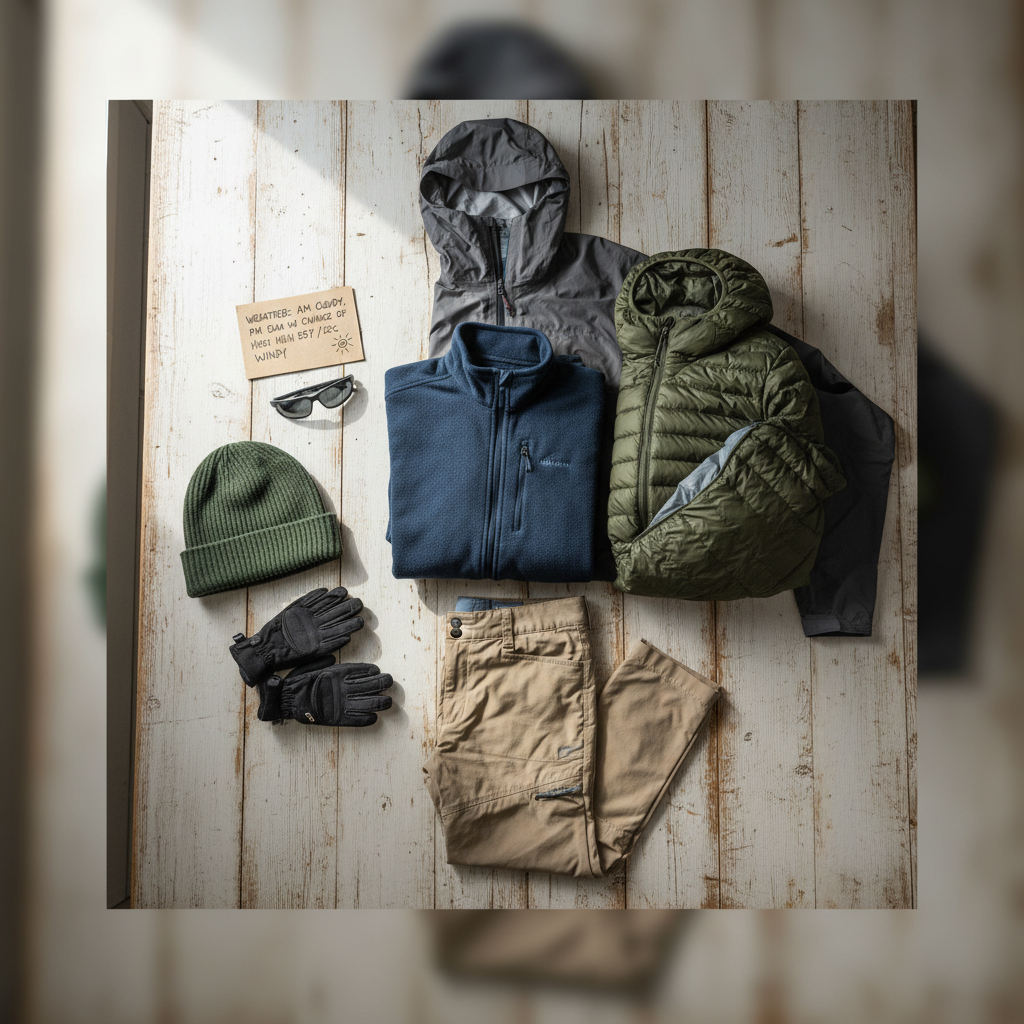
Gear and clothing: pack for comfort, not for fantasy
Gear choices get easier if you aim for “comfortable in motion, safe when stopped.” In the mountains, you stop more than you think, snack breaks, route checks, helping someone adjust a pack.
A simple layering system that works in most U.S. ranges
- Base layer: moisture-wicking top, avoid cotton when temperatures may drop.
- Mid layer: fleece or light synthetic insulation for warmth while moving.
- Insulation layer: puffy jacket for long breaks or unexpected delays.
- Shell: rain jacket and, in many cases, rain pants, wind matters.
- Hands and head: gloves and a warm hat take little room, big payoff.
Footwear: what matters more than the brand
- Fit under load: try footwear with the socks you will hike in.
- Traction: loose gravel, mud, wet rock, or snow changes your needs.
- Blister management: tape, blister pads, and a plan beat “toughing it out.”
If you are preparing for a beginner-friendly mountain day hike, you can keep things light, if the route is remote or weather is unstable, the same basics become more critical.
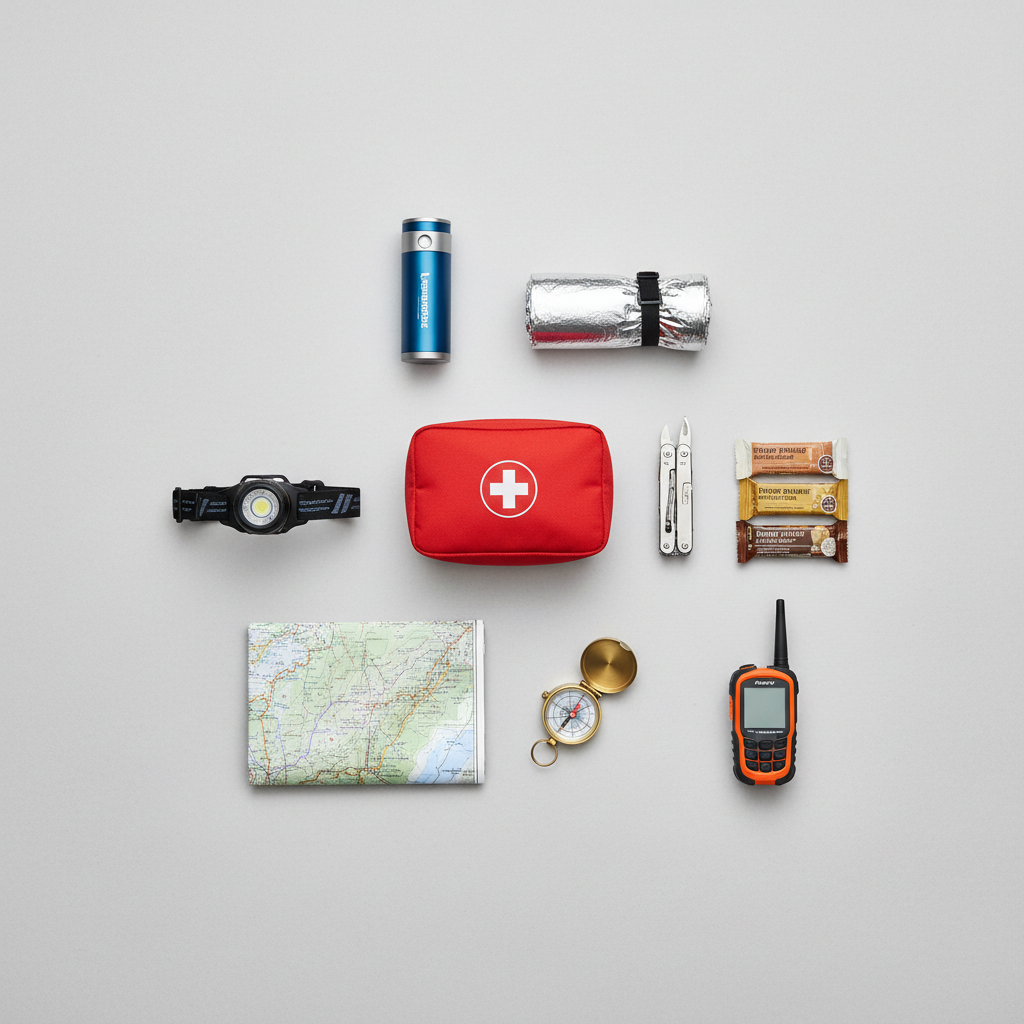
Safety basics: the “minimum viable kit” plus trip-specific add-ons
It helps to separate essentials from nice-to-haves. According to National Park Service (NPS), hikers should carry essential items and be prepared for changing conditions, even on day hikes. Different parks publish slightly different lists, but the logic stays consistent.
Minimum viable kit for most mountain day trips
- Navigation: offline map on phone plus a backup plan, paper map or downloaded route.
- Light: headlamp, not just a phone flashlight.
- Sun protection: sunglasses, sunscreen, hat, UV can feel intense at altitude.
- First aid: small kit plus blister care, pain relief if appropriate for you.
- Fire and warmth: lighter or matches, emergency layer.
- Repair: duct tape strip, multitool, or a small fix kit.
- Food and water: more than your “perfect day” needs.
- Emergency shelter: space blanket or bivy, especially for shoulder seasons.
Trip-specific add-ons that are often worth it
- Trekking poles: knees and balance, especially on long descents.
- Microspikes: for lingering ice, common in spring and fall in many regions.
- Water treatment: filter, tablets, or UV purifier when refills exist.
- InReach or PLB: for areas with weak service, not mandatory everywhere, but sometimes the smartest spend.
Practical rule: pack for the “longer-than-expected” day, not the Instagram version.
Food and water planning: avoid the two classic crashes
Most people bonk for predictable reasons, they drink too little early, or they wait too long to eat. Cold air can hide thirst, and high effort makes you burn through energy fast.
Easy fueling approach that fits most hikes
- Eat earlier than you think: a small snack within the first hour keeps energy steadier.
- Mix quick and slow calories: trail mix plus something more substantial.
- Bring “I will eat this even when tired” foods: comfort matters in real life.
Water: plan for scarcity, not convenience
- Know refill options: seasonal streams can be dry, and some sources are unreliable.
- Carry capacity: bottles or a bladder that matches your route length.
- Treat when needed: filtering or treating water is usually safer than guessing.
Because needs vary by temperature, altitude, and intensity, it can help to test your habits on shorter hikes before committing to a long, remote day. That is part of how to prepare for mountain travel without turning every outing into a science project.
A quick self-check: are you ready for this route?
Before you go, run a simple readiness check. If you hit multiple “no” answers, it does not mean cancel, it usually means adjust the plan, shorten the route, start earlier, or change objectives.
- Can you explain your route and turnaround time to someone else in one minute?
- Do you have an offline map and a backup navigation option?
- Do you have layers for wind and an unexpected stop?
- Do you have enough water capacity for the longest dry stretch?
- Do you have a realistic plan if weather shifts, including a bail-out?
- Is your group pace aligned, or are you already expecting a split?
Gut check: if you feel like you are “hoping it works out,” that feeling usually points to a missing detail you can fix in ten minutes.
Step-by-step prep plan (with a packing table)
Here is a lightweight process you can reuse. It avoids last-minute chaos and keeps the trip flexible.
48–24 hours before
- Confirm trail conditions and any permits, parking rules, or seasonal closures.
- Check weather twice, once now, once the night before.
- Set your turnaround time and share a basic itinerary with a trusted contact.
Night before
- Pack with a checklist, not memory.
- Charge devices, download offline maps, and confirm your navigation app works in airplane mode.
- Stage breakfast and a car snack, you will thank yourself later.
Morning of
- Do a final weather look and adjust layers.
- Start earlier if storms are possible or the route is longer than your usual.
- At the trailhead, re-confirm the plan as a group, especially turnaround time.
Mountain travel packing guide (quick table)
| Category | Bring (typical) | Adjust if… |
|---|---|---|
| Clothing | Base + mid + shell, hat, gloves | Add insulation if wind, shoulder season, long stops |
| Navigation | Offline map, route saved, backup | Add paper map/compass if remote or off-trail |
| Water | Capacity for the longest stretch | Add filter/tablets if refills exist but uncertain |
| Food | Snacks + one “real” item | Add more if cold, high effort, or slower group |
| Safety | Headlamp, first aid, emergency warmth | Add satellite messenger if no service expected |
Common mistakes that look small until they are not
These show up constantly, even among experienced hikers, usually because confidence replaces process.
- Skipping the turnaround time: you end up negotiating on the trail, when everyone is tired.
- Relying on cell service: many mountain valleys drop coverage without warning.
- Underestimating descents: going down can be slower and harder on joints.
- Overpacking “just in case” items: heavy packs make the day riskier and less fun.
- Not practicing with your gear: new boots, new filter, new stove, this is how small issues become big delays.
How to prepare for mountain travel is often less about buying more, and more about reducing unknowns.
When to get professional help or change the plan
Some trips cross a line where a guide, a course, or a different objective makes more sense. That is not failure, it is risk management.
- Technical terrain: scrambling with real exposure, glacier travel, avalanche terrain.
- Medical considerations: heart or lung conditions, prior altitude illness, or new symptoms.
- Winter or shoulder-season hazards: ice, cornices, fast weather changes, short daylight.
- Group mismatch: big differences in pace or experience often creates pressure decisions.
Local guiding services and ranger stations can often clarify current conditions and common hazards for your exact route. If you are unsure, asking questions early tends to reduce stress later.
Conclusion: a calm plan beats a perfect plan
You do not need to control every variable, you need a plan that survives surprises, a packing system you trust, and the discipline to turn around when the day asks for it. If you want one action to take now, write your turnaround time and pack your layers and headlamp first, those two habits prevent a lot of avoidable problems.
If you are preparing this week, pick one shorter hike to test your footwear, water carry, and snack timing, then adjust, that small rehearsal is often the missing step between “I hope it works” and “I know what I’m doing.”